How-To: TDR-X – Changing Height of Cut in 3 Simple Steps
Changing the height of cut on the TDR-X is a quick and simple process. Adjustments are made at the corner of each deck, allowing you to easily change the cut height with a single person, and without a complicated process.
Step-By-Step Guide
Adjusting the height of cut on the TDR-X was made simple on purpose. With the supplied tool, you can change the cut height in just a few minutes with 3 simple steps.
Step 1: Loosen both side channel bolts
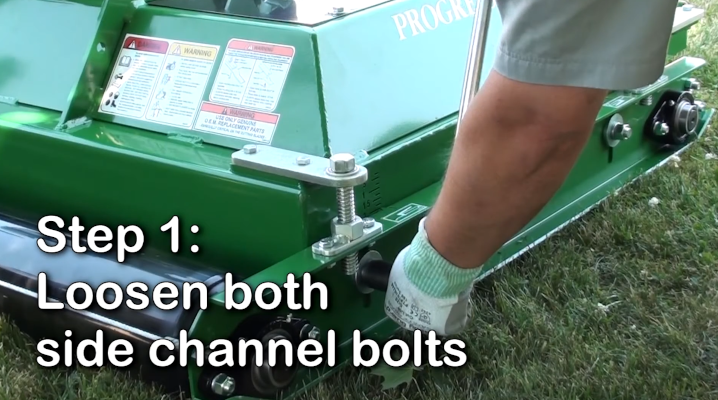
Using the supplied tool, place the socket end on the nut and loosen in a counter-clockwise rotation. Loosen enough that the nut moves freely, but do not completely remove the nut. Each side channel has two bolts, loosen both before continuing.
Step 2: Adjust Height Of Cut
With both side channel bolts loose, choose an end to start on. Use the supplied tool on the top of the adjustment bolt to adjust the height of cut.
Lowering Height of Cut
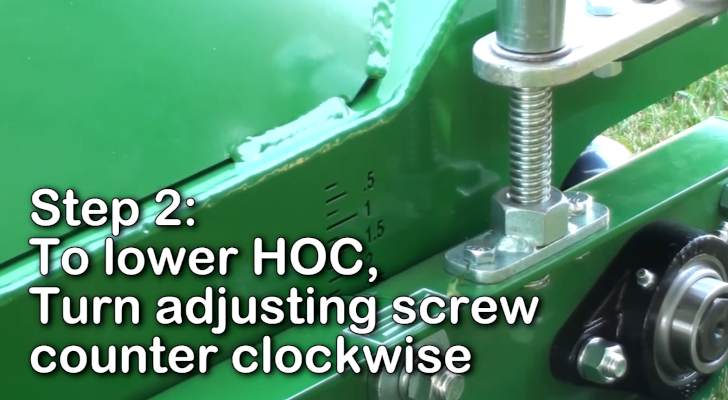
To lower the height of cut, turn the adjustment screw counter-clockwise.
Raising Height of Cut
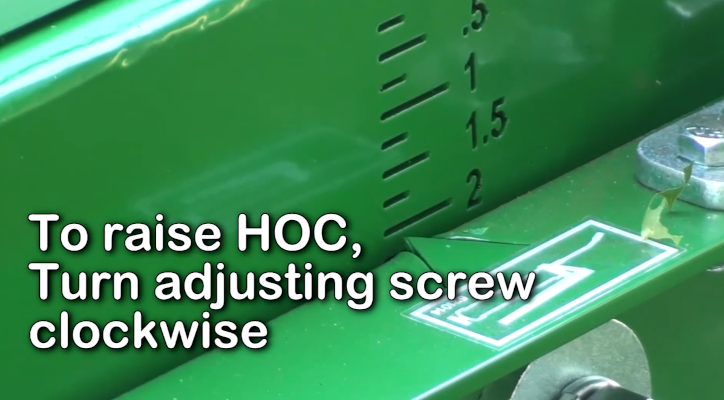
To raise the height of cut, turn the adjustment screw clockwise.
About the Adjustments
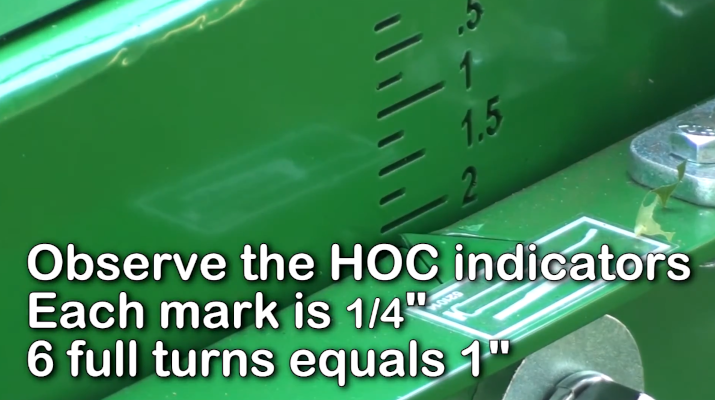
As you adjust the height of cut, pay attention to the arrow indicator on the side channel. Each mark on the indicator is 1/4″, allowing for adjustments from 3/8″ to 3 3/8″. 6 complete turns with of the adjustment wrench should represent 1″ of travel in either direction.
Step 3: Tighten Side Channel Bolts
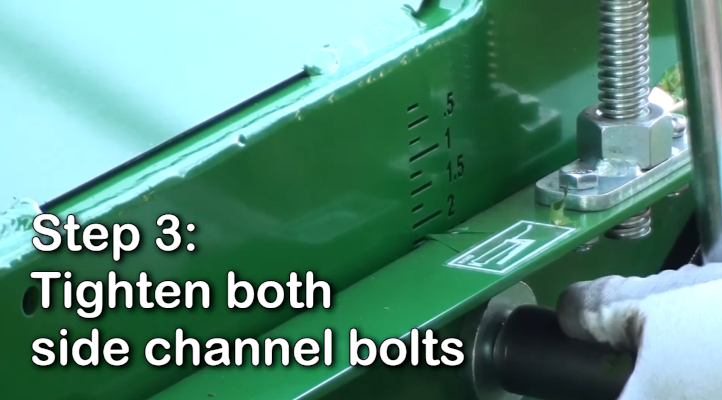
Once you have set the height on both sides of the channel, tighten the side channel bolts to secure them in place. This step is important to keep the channels set to the desired height. Failure to tighten the bolts can result in damage to your mower deck.
Repeat on all decks
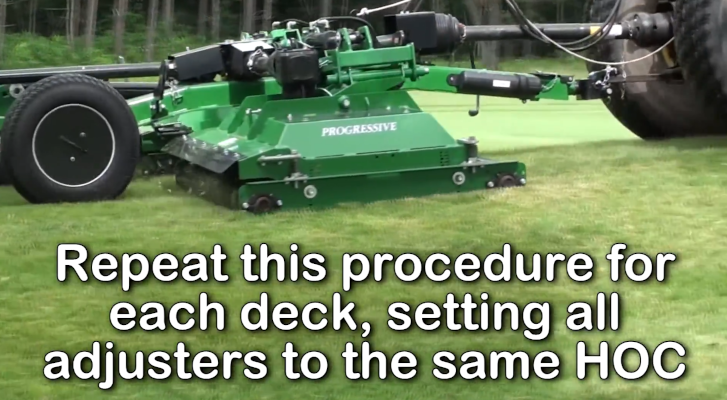
Repeat this procedure for each deck, seeing all adjusters to the same height of cut. Your mower’s height of cut is now set.
Video
Want to see how it’s done? Watch the brief video on our YouTube Channel, or using the player below.


